


1
2
3
4
5
6
7
8
9
10
11
12
13
14
15

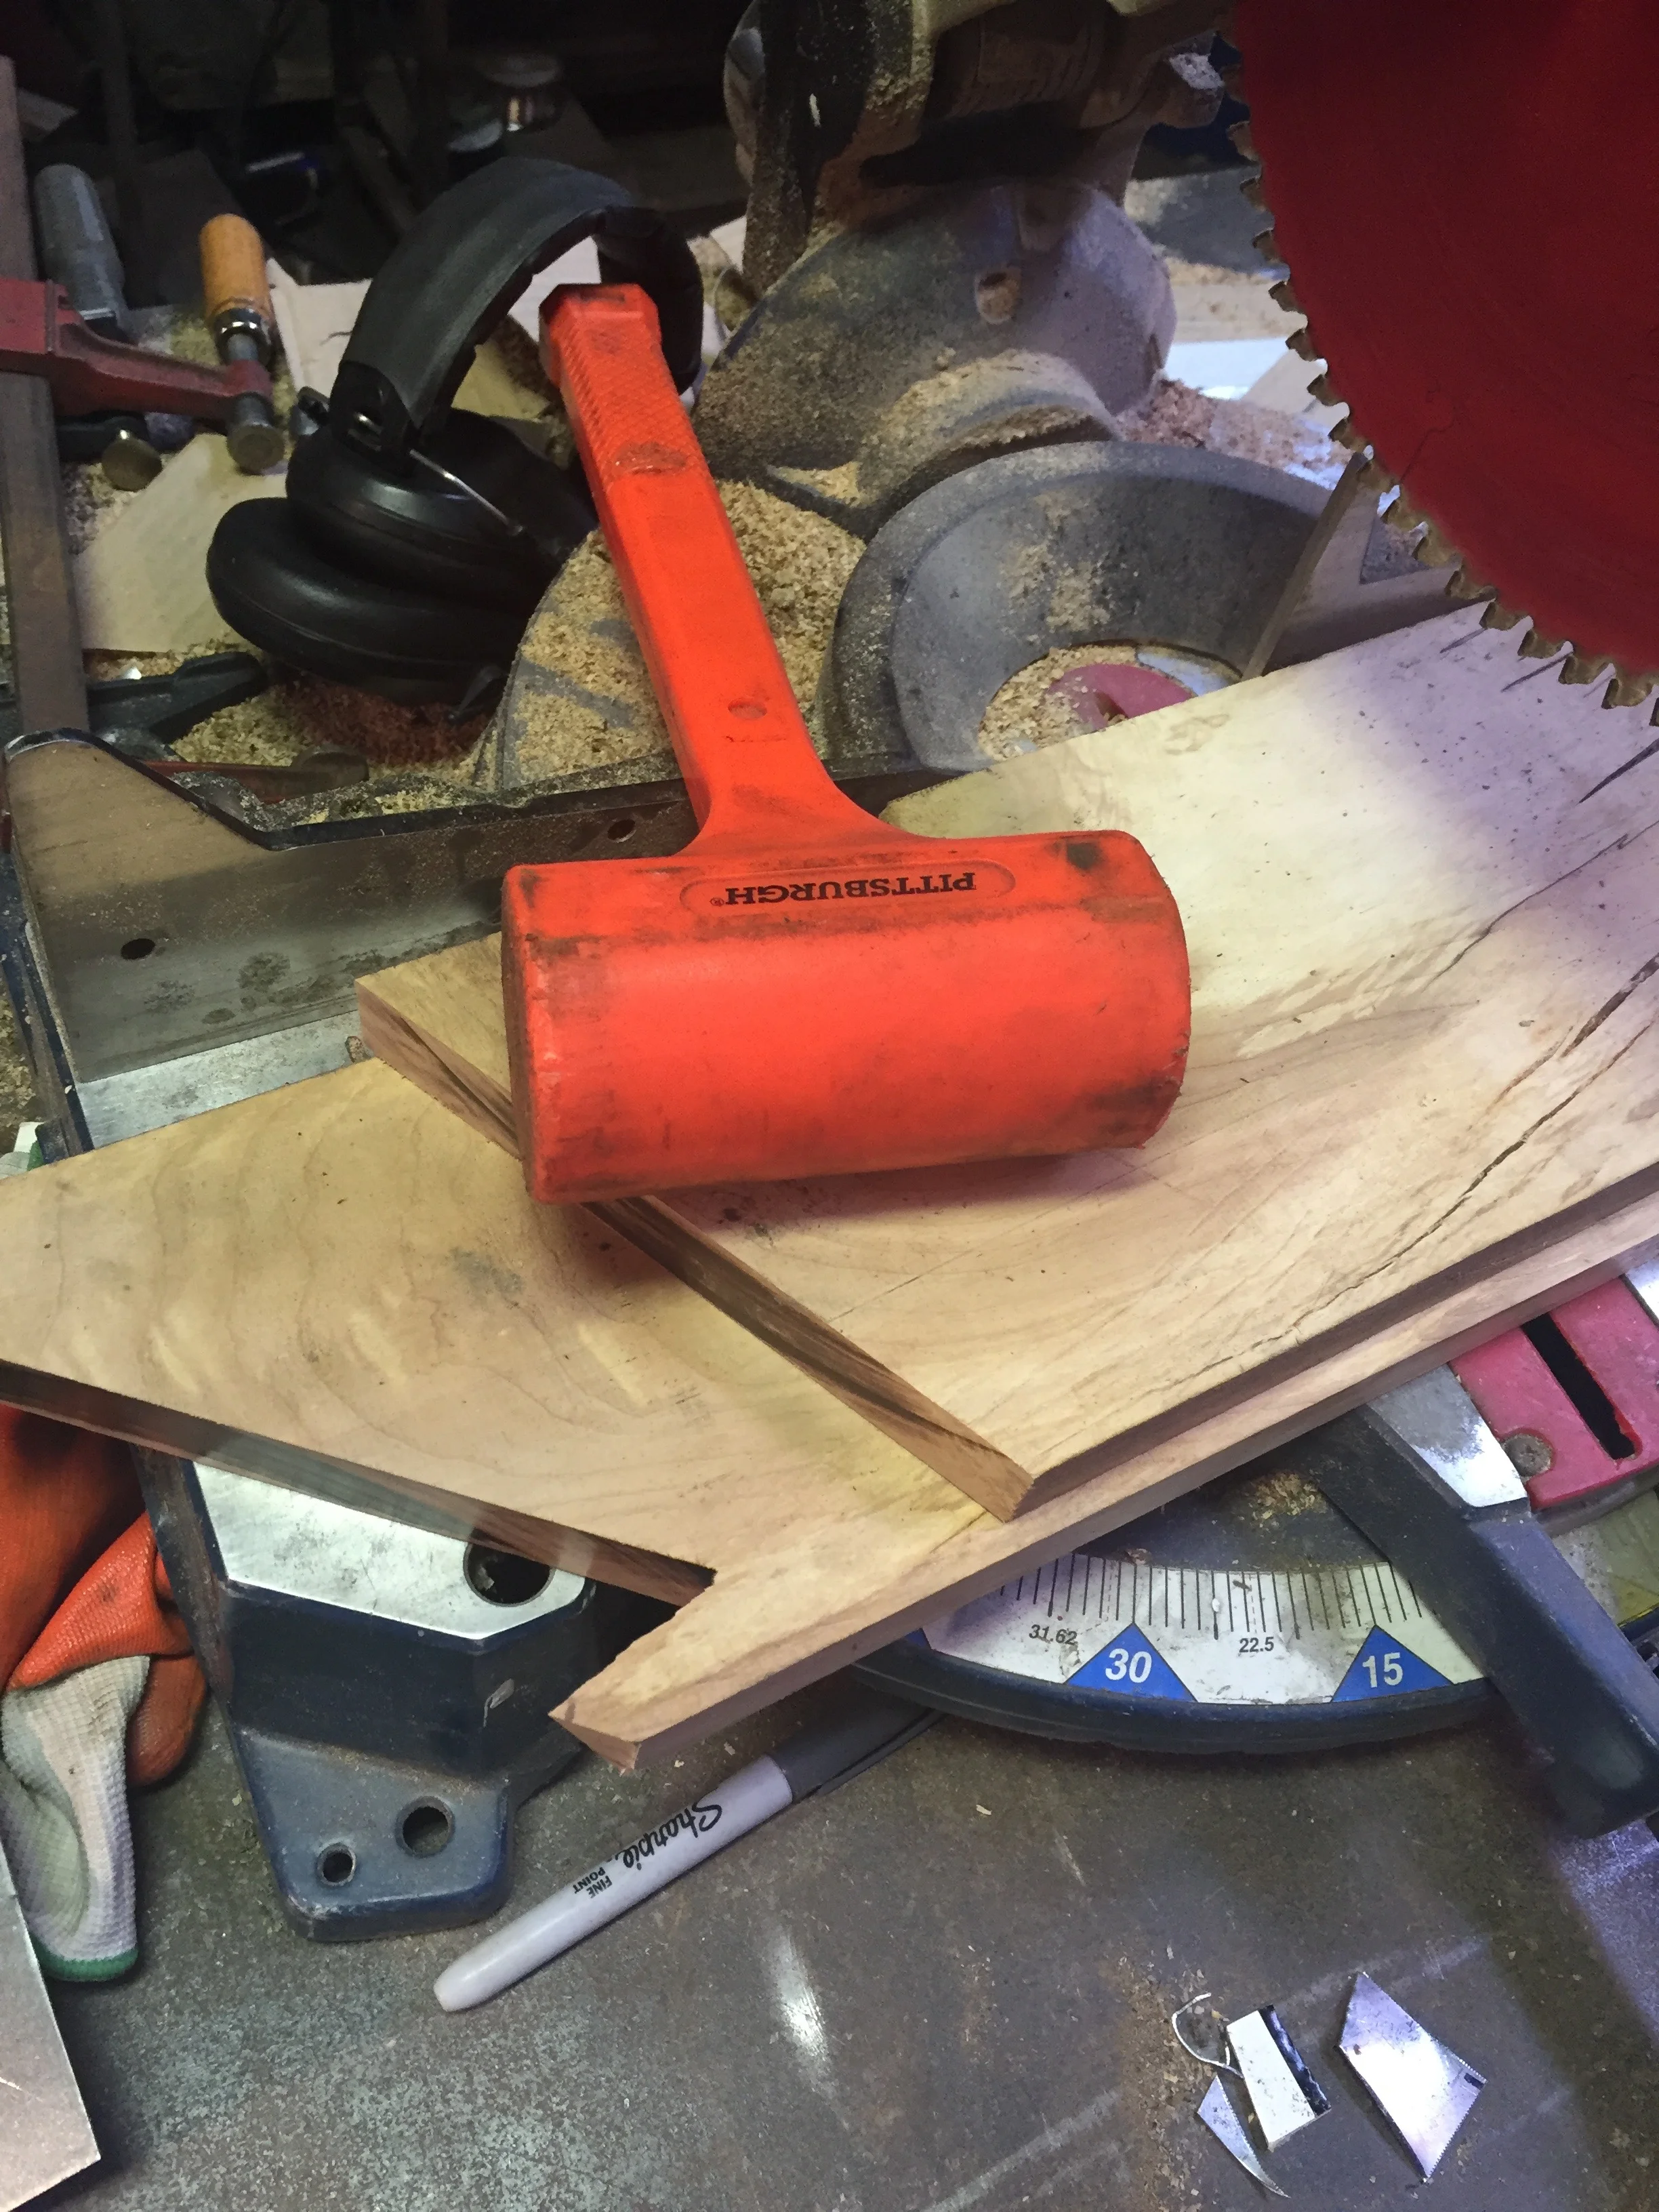
first i trace the layout on the table and cut the wood
i then bend the metal to fit between the wood pieces. we cut a flat sheet of metal and bend each side with jigs and hammer.
we used tiger maple for this set of tables. the deadweight hammer is great for bending thin metal because it doesn't leave marks on the surface.
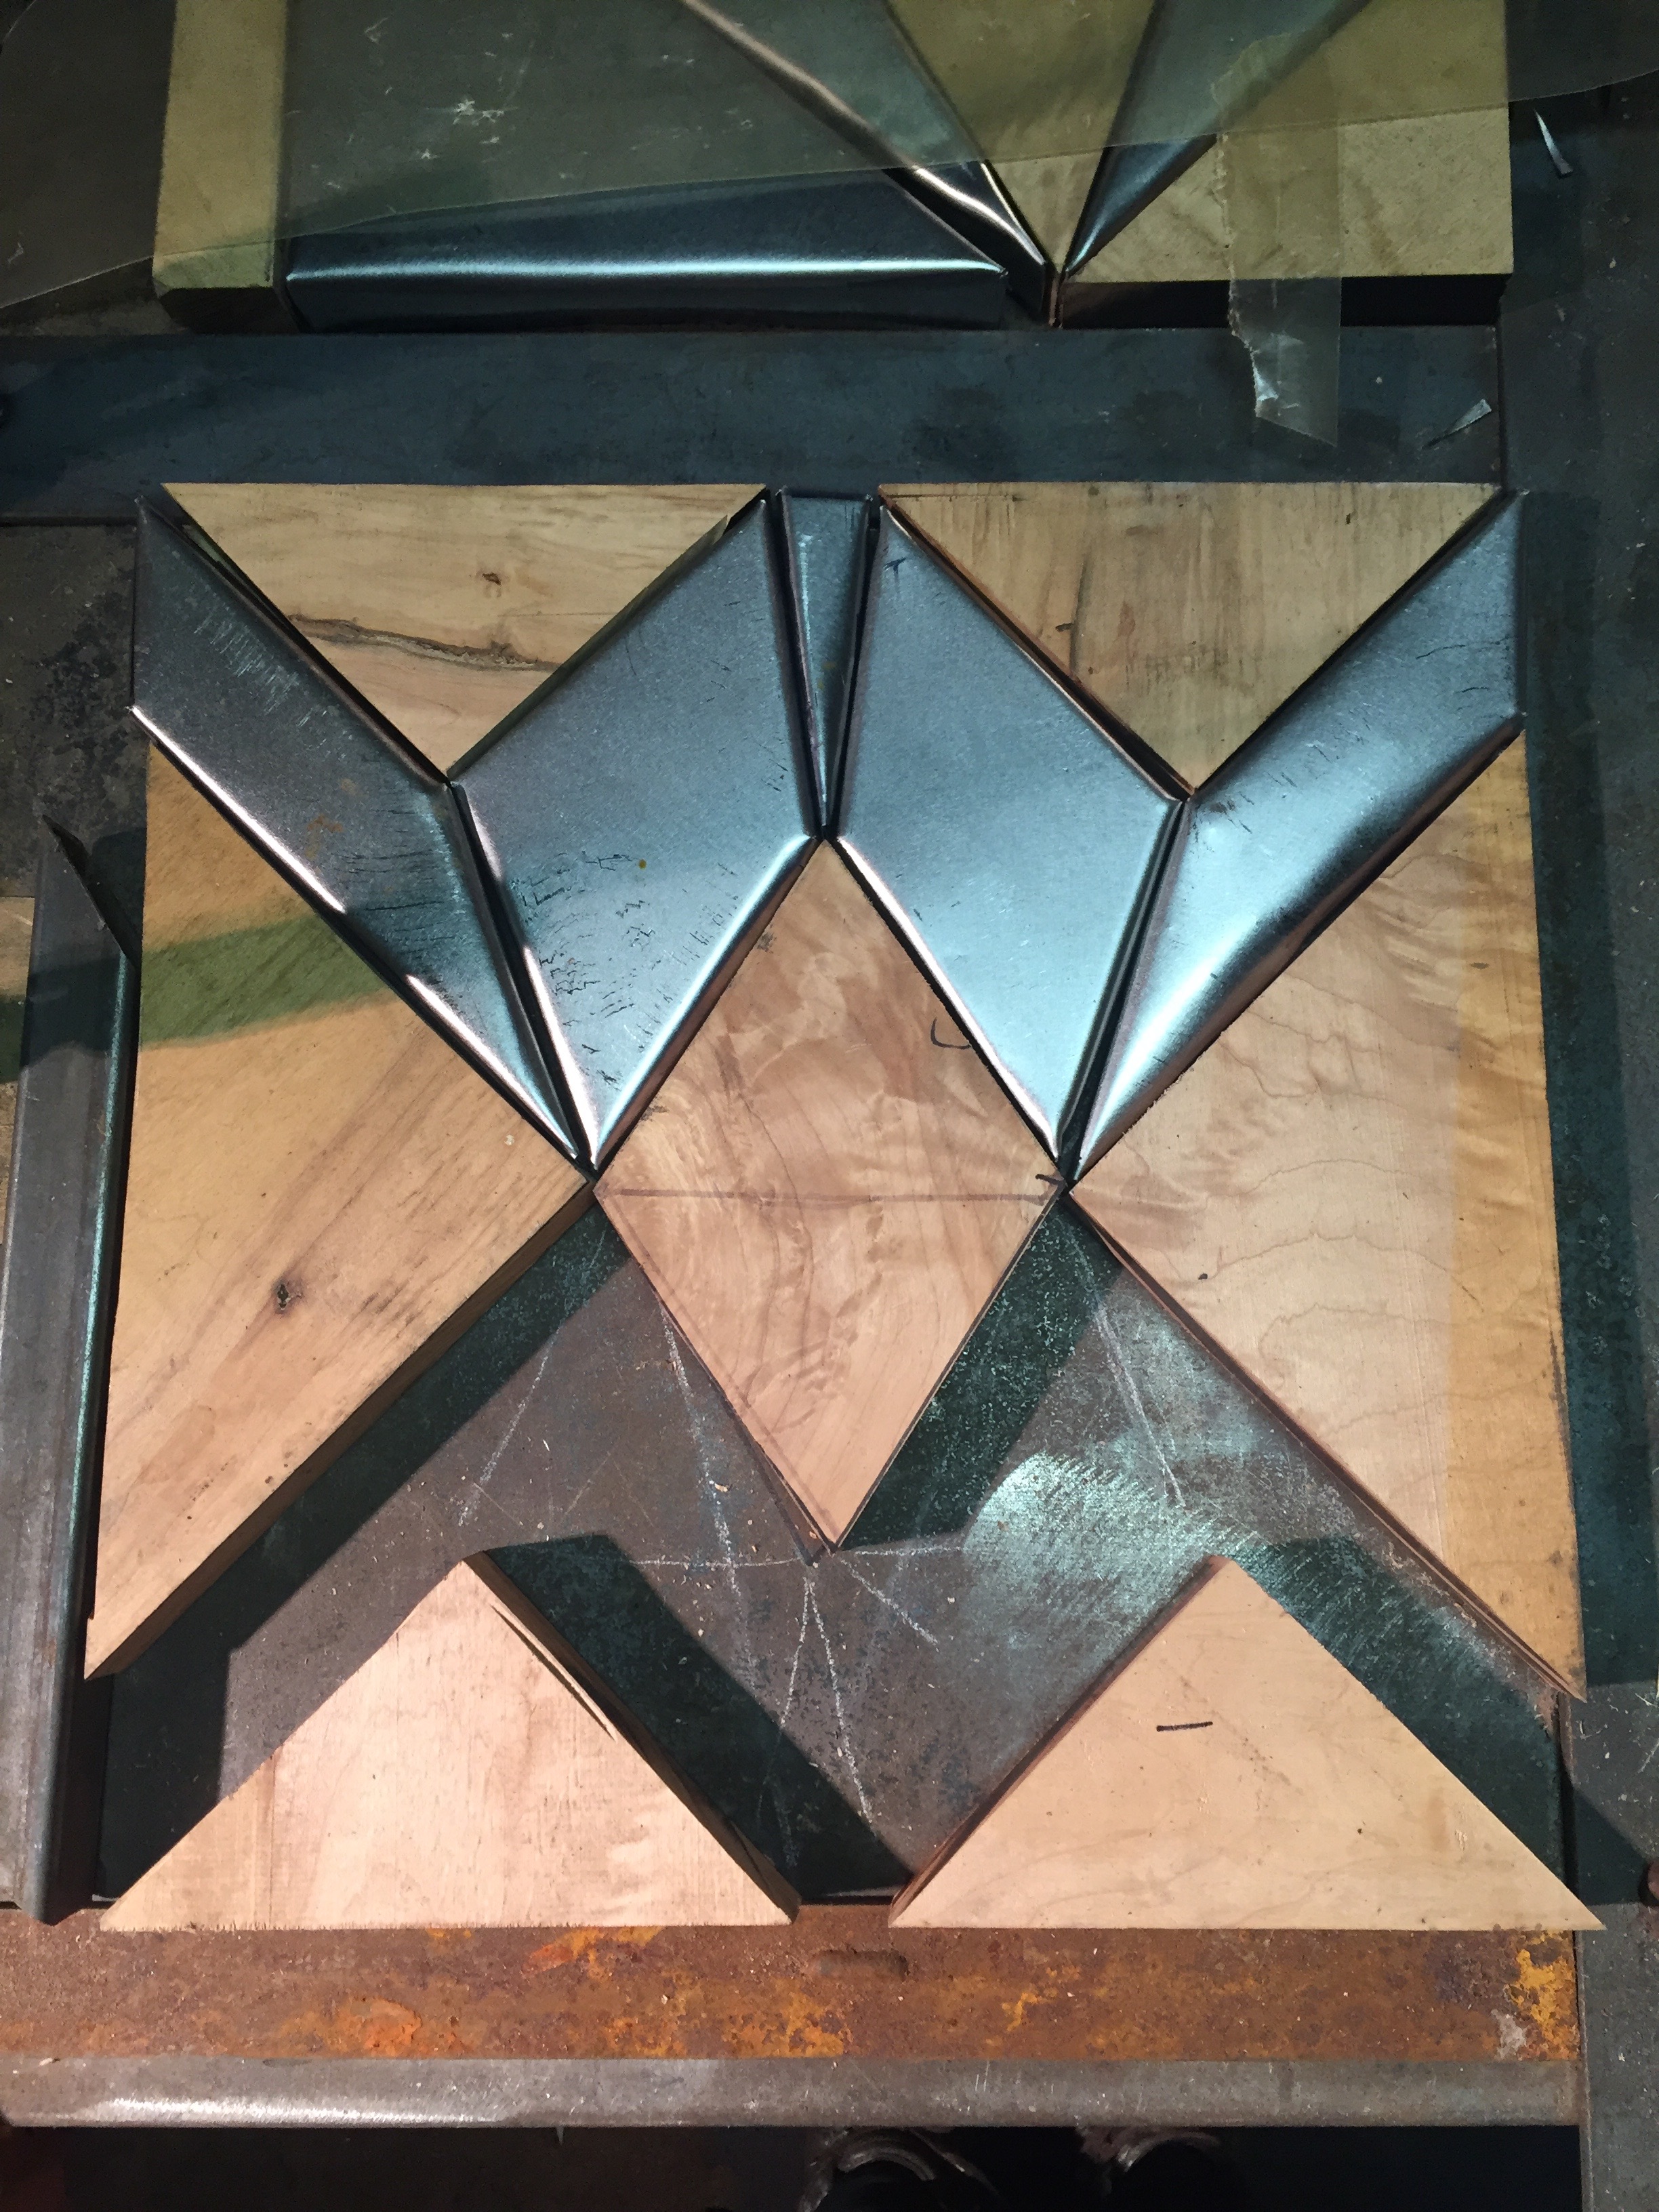
hopefully, the metal fits on the first try! otherwise, we make another piece.
we make sure the pattern all fits together before securing it in place.
there are always coffee cups in the studio
we make sure the pieces fit snugly together
we then fit the pieces into the metal box that will be the tabletop.
we build the box so the quilt sits flush with the edge of the metal. it varies slightly, but is fairly flat.
When the steel pieces fit well, we tack weld them to the bottom of the metal sheet. There are holes drilled in the metal sheet to attach the wood in place after the metal has cooled and been treated.
detail of the tiny welds that attach the metal to the base. all the welds will be hidden by the wood.
we built the metal frames first, to define the parameters of the quilt.
when the wood is placed in, we screw in through the bottom to secure it. it is treated with tung oil several times.
we use a lot of abrasives all the time! these are some of what we used making these tables.
pictured is all the metal dust i didn't inhale while working that day.